
The purpose of these fields is to show data of interest from Medrio EDC that comes from a subject and occurs one time during the course of the study in the SUBJECTS > SCREENING & ENROLLMENT view. Some examples of what data the fields could display include:
- Date of Death in oncology studies
- Reason for Termination (or Discontinuation)
- # of vials administered (this would apply if there was only one dosing session for example)
The process for getting these data to be visible in the SCREENING & ENROLLMENT view is as follows:
- Identify the data point(s) of interest
- Determine the Field ID for each data point
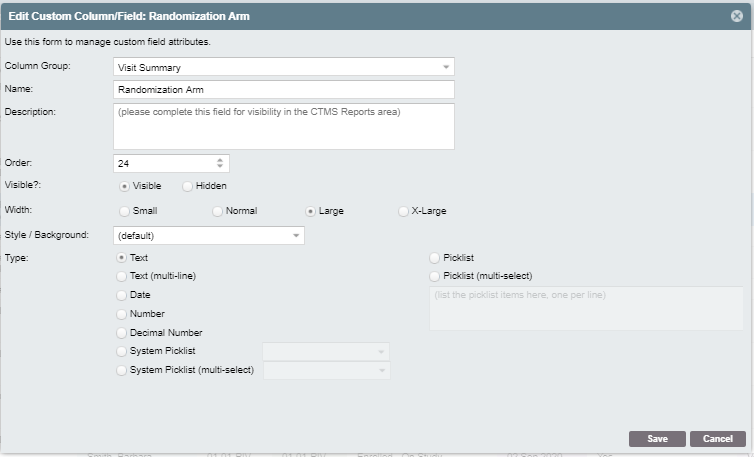
- In the SCREENING & ENROLLMENT view, create custom column(s) for the data point(s) of interest one at a time by clicking on the "Customize Columns" button.
- Be sure that your selection for Type (text, date, number, etc) matches the type of data found in Medrio EDC for the data point
- After having completed all of the fields in the Add Custom Column/Field display box AND BEFORE clicking Save, copy the name of the custom column with your mouse and then click "Save".
- In STUDY PROFILE > SECTION 10 Integration Settings:
- Click the "Edit/Update Integration Settings" button
- Scroll to Custom Subject Field 1 and place the cursor in the empty field box
- Paste the custom column name into the field
- Add a colon (:) immediately after the custom column name (no spaces in between)
- Now add the Field ID for the data point (also, no space between the colon and this field ID)
- Repeat the creation of custom column steps in SCREENING & ENROLLMENT and entry of custom column specifics in SECTION 10 Integration Settings until you have entered the data points you selected.
- In the SECTION 10 Integration Settings view, click "Save" to save the entries and verify that they appear as previously entered.
- The next day you will see the results and can compare the data in SimpleTrials for the data point(s) against what is found in Medrio EDC
- If the data match, CONGRATULATIONS!
- If the data do not match, then you will need to determine if the correct Field ID was used for that particular data point and make the necessary adjustments and then wait for the following day to see the results.
Here is an example of the custom subject field entry in the SECTION 10 Integration Settings view:
![]()
Here is how it looks in the SCREENING & ENROLLMENT view:

Comments
0 comments
Please sign in to leave a comment.